Verbindungsmittel Workflow
In diesem Artikel lernen Sie den grundlegenden Workflow für die neue Verbindungsmittel Datenbank kennen. Zusätzlich können Sie sich dieses Video ansehen:
Dieser Artikel gibt Ihnen einen allgemeinen Überblick über die verfügbaren Werkzeuge:
Fastener Database | Artikel | hsbacademy
Sie finden alle Werkzeuge im neuen hsbMetal-Menü. Falls Sie die neue allgemeine Multifunktionsleiste noch nicht geladen haben, können Sie sich das folgende Video ansehen:
So laden Sie die neuen allgemeinen Bänder ein | Artikel | hsbacademy

Sie können die Verbindunsgmittel Datenbank mit Bohrungen, Bohrverteilungen und einfachen Verbindungsmitteln verwenden.
TSL | SimpleFastener | Artikel | hsbacademy
Workflow
Starten Sie den Verbindungsmittel Editor im hsbMetal-Menü.
Wählen Sie Ihr Hauptverbindungsmittel aus. Wenn keine Verbindungsmittel verfügbar sind, öffnet sich der ScrewSelector und Sie können die benötigten Verbindungsmittel in Ihre Zeichnung laden.

Anschließend können Sie das Verbindungsmittel in der Zeichnung platzieren. Zuerst wird die kürzeste Länge angezeigt. Sie können die verschiedenen Längen des Verbindungsmitteltyps anzeigen, indem Sie das Drop-Menü am oberen Ende des Verbindungsmittels verwenden.

Sie können Komponenten mithilfe des Kontextmenüs hinzufügen.

Dadurch wird der Parameter Dialog geöffnet, in dem Sie dann die Komponenten auswählen können. Sie müssen die Position der Komponente definieren.
.png)
Die Komponenten können mithilfe der normalen ACA-Befehle im Modell verschoben und kopiert werden.
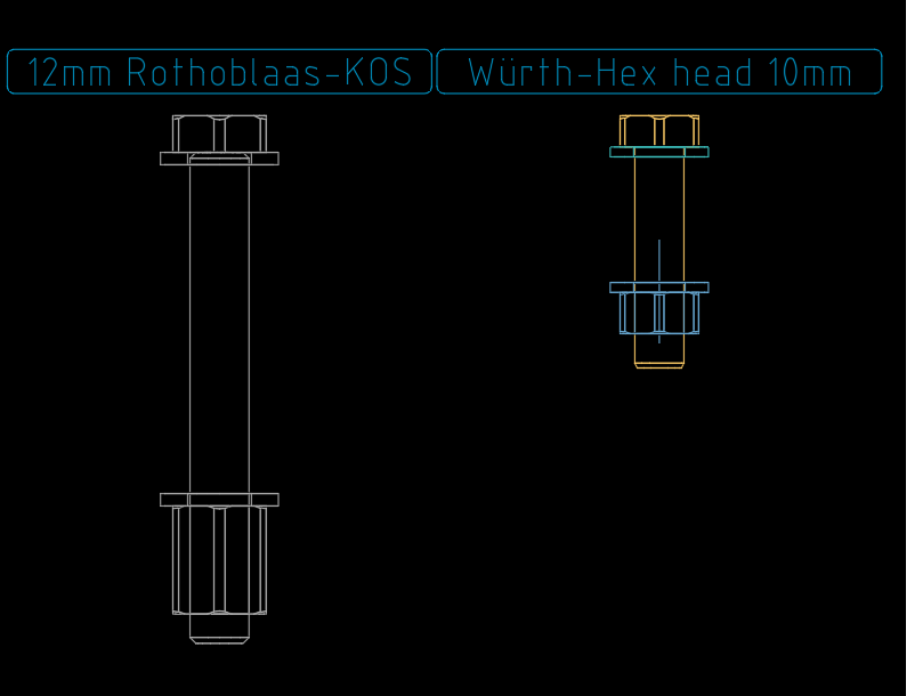
Solange die Teile farbig dargestellt werden, wird die FastenerAssembly nicht gespeichert. Sie können sie speichern, indem Sie das Kontextmenü verwenden. Wenn Sie denselben Namen verwenden, überschreiben Sie die vorherige FastenerAssembly. Dadurch ändert sich auch jede FastenerAssembly, die sich bereits in der Zeichnung befindet und den gleichen Namen hat. Verwenden Sie einen neuen Namen, wenn Sie die vorherige FastenerAssembly behalten möchten. Nach dem Speichern wird die FastenerAssembly in einer einheitlichen Farbe angezeigt.

Die neu erstellte FastenerAssembly kann jetzt mit all ihren Komponenten mithilfe der TSLs oder HSB_FA_Add eingefügt werden.

