
Jump to section
Can’t find the answer you’re looking for? Don’t worry we’re here to help!
Contact supportIntroduction to Generic Framing Styles in hsbDesign V29 for AutoCAD
This article introduces, how to use generic framing styles in version 29 of hsbDesign for AutoCAD.

Defining Framing Styles in the Framing Styles Editor
In the Framing Styles Editor, you define framing styles using aliases from the inventory. These aliases are linked to specific materials. You can:
• Add new aliases
• Assign a beam code to each alias
• Enable or disable aliases for individual framing styles
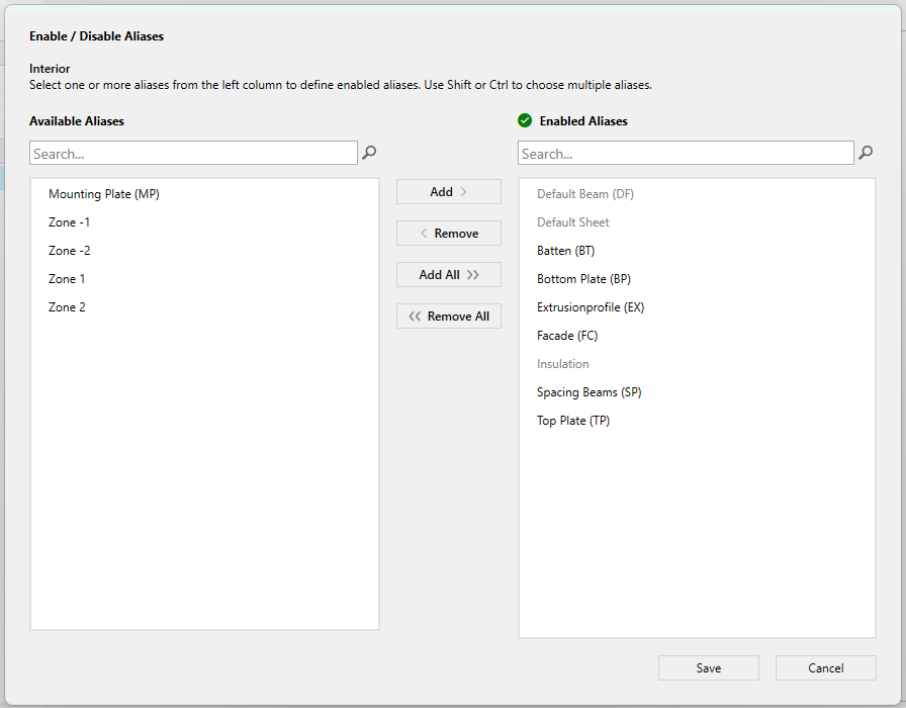
Disabling unused aliases helps keep your inventory clean and organized.
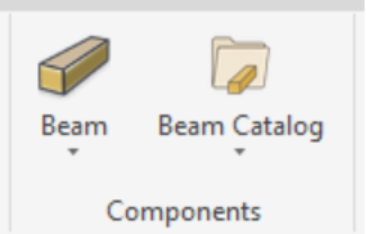
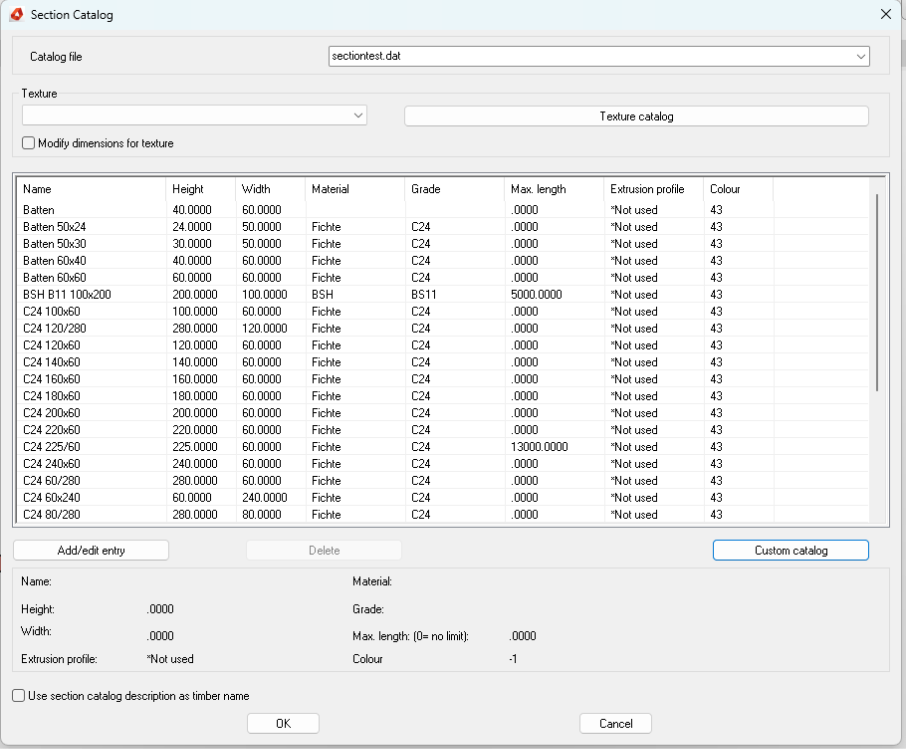
Materials are generally divided into two types: beams and sheets. To define them, use either the BeamCatalog or the SheetCatalog.
Note: The process of defining framing styles and details is the same as in Revit.
Revit® | Creating Framing Styles for Revit® (Video) | Articles | hsbacademy
Revit® | Detail Editor | Articles | hsbacademy
Assigning Opening Styles to ACA Windows and Doors
Generic framing styles also allow you to assign opening styles directly to standard ACA (AutoCAD Architecture) windows and doors using a rule-based system.
Here’s how it works:
• Choose the opening style you want to apply the Detail to.
• Define the ACA window type it should apply to. (If you skip this step, the style will apply to all ACA windows that meet the other conditions.)

You can also set rules based on:
• Wall type
• Window width (equal to, greater than, or less than a specific value)
• Building level where the window is located
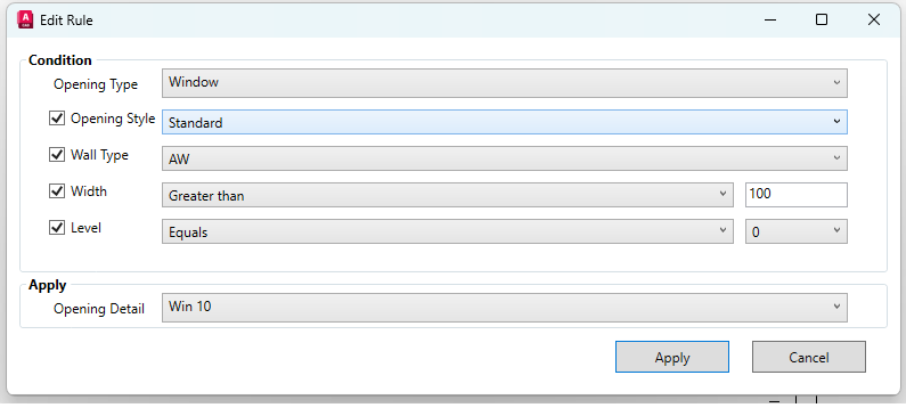
If no rule matches, hsbDesign will use the default opening styles—those assigned to specific windows without any conditions.
Applying Framing Styles to ACA Walls
To apply framing styles to ACA walls:
• Right-click a basic ACA wall and choose “Add hsbcad data.” – or use the command from the Ribbon
• Set the wall type to Generic wall.
• Select the desired framing style from the list.
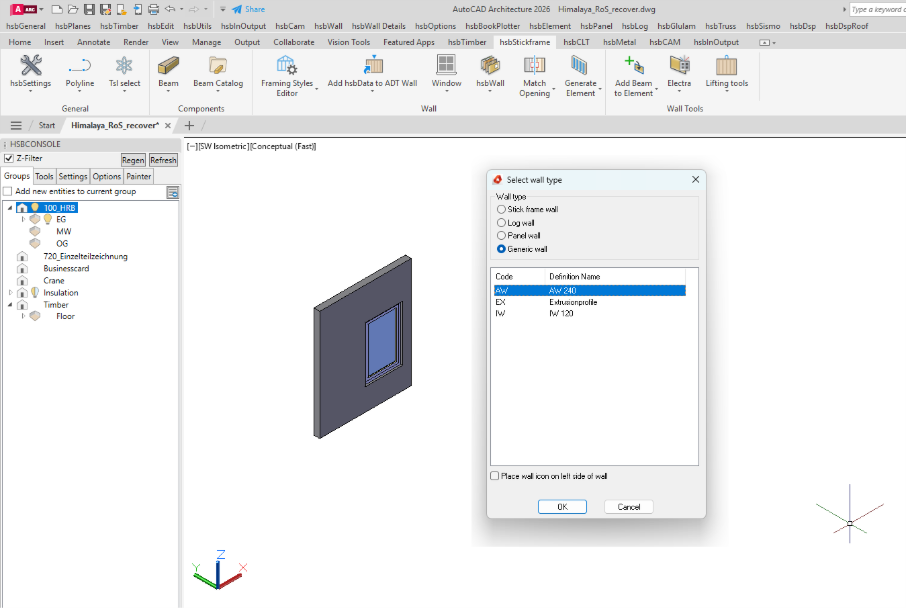
You’ll then see the standard hsbDesign dialog. Once you close it, you can generate the wall.
If you make manual changes to your construction and then regenerate it, those changes will be preserved.
In the settings you can choose, whether Zone 0 should be used as the outline of the element or if all Zones should be used for the outline.

TSL's that should be run with generation can be added to the empty item conatiner. They will then be executed with the generation.
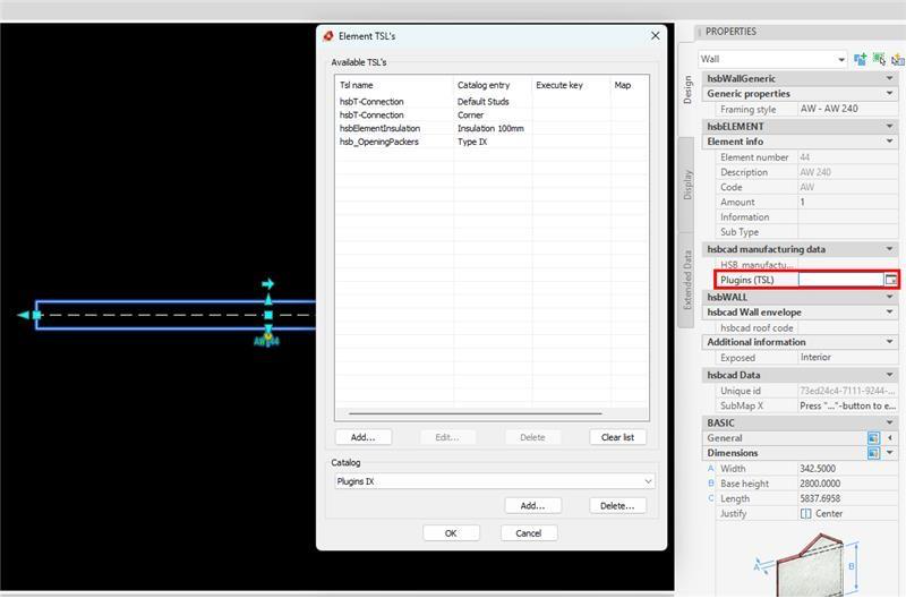
Adjusting Framing and Opening Styles Later
In the wall container properties, you can:
• Change the framing style

• Change the opening style

To apply any changes, make sure to regenerate the wall.