
Jump to section
Can’t find the answer you’re looking for? Don’t worry we’re here to help!
Contact supportHilti P2P Connector Tool
This document will guides you through on how to use the Hilti P2P Tool to structually connect two CLT elements.
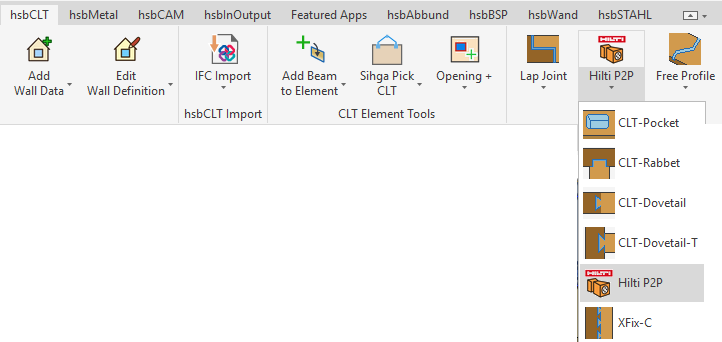
You find this tool in the hsbCLT ribbon in the"panel tools" section.
After you select the tool, the parameters dialog will open up, in which you can set up the insertion, distribution and tooling.
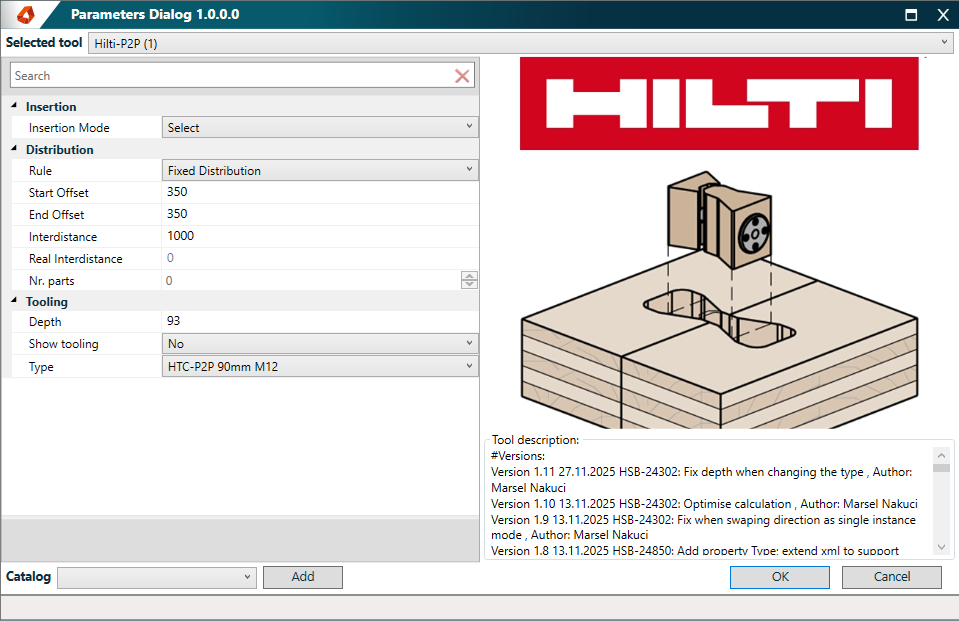
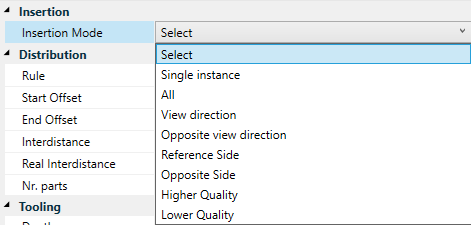
In this example we use the insertion mode "Select", for which you have to select the postion of the connectors afterwards. For the other modes the position is default.
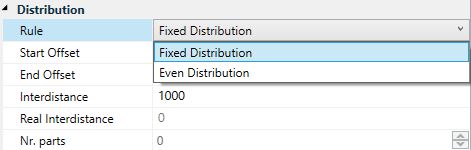
For the distribution rules you can decide between a"Fixed Distribution" or an "Even Distribution". Depending on the distribution rule, you have to define the "Start-" and "End Offset", aswell as the "Interdistance". The "Real Distance" and the "Nr. parts" can not be set up in the parameters dialog, but they will be visible in the tool properties afterwards.
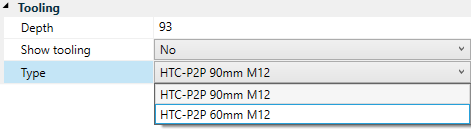
For the tooling, you can setup the "Depth" and if the tooling should be shown. At the moment you have two types available.
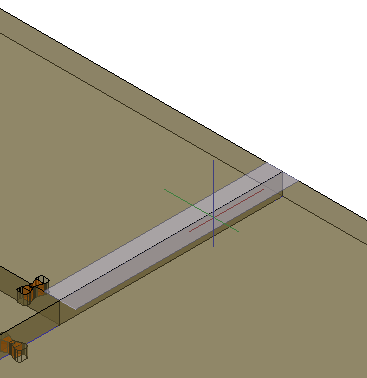
After you have closed the parameters dialog by clicking "OK", you have to select at least two CLT elements. Next up the Jiig appears, which gives you a preview of the side that the tooling will be applied to. You can move the Jiig by moving your mouse. Once the Jiig is at the correct position, you can place the tooling with a left mouse click. Afterwards you are still in the command and have the option to place the tool again.
In the context menu you can set up a custom tooling, set the tool contour by using a polyline or swap the direction of the tooling.
.png)