
Jump to section


Can’t find the answer you’re looking for? Don’t worry we’re here to help!
Contact supporthsbMake | How to install the hsbMake
This article will guide you through the setup and installation of the hsbMake.

Step 1: Download hsbMake Setup File
BLOCK_INFO_START
Before you can download the setup file you will need to create an account at www.myhsbcad.com.
BLOCK__END
BLOCK_INFO_START
After you have created your Myhsbcad.com credentials, you can download the hsbMake setup file in Myhsbcad downloads.
BLOCK__END
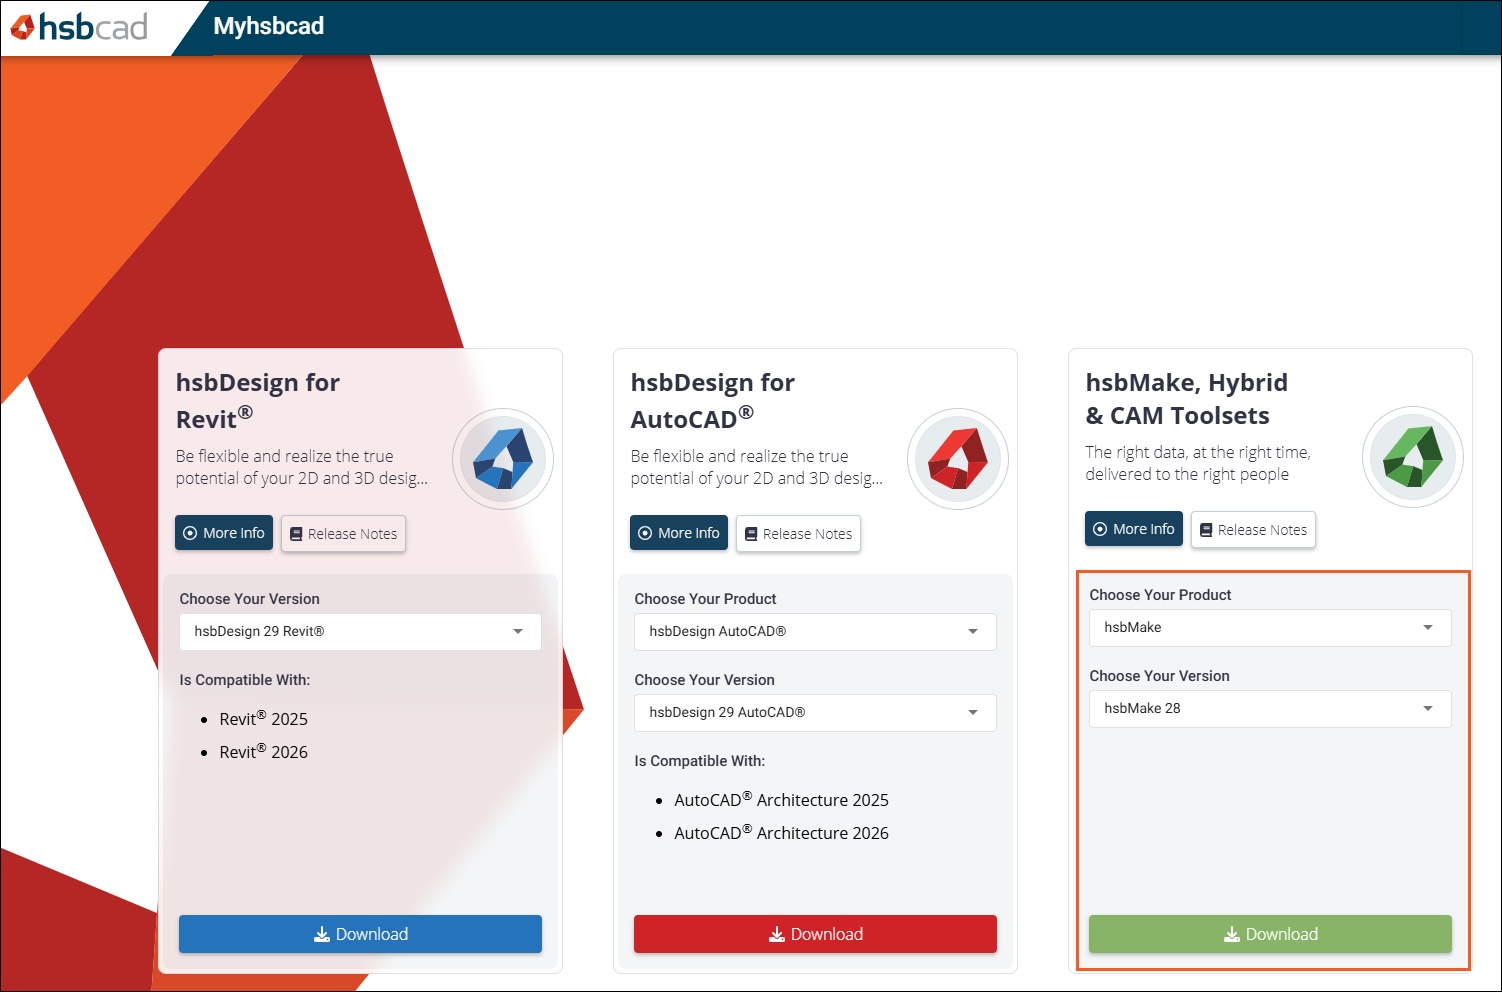
Step 2: Start the Installation
Once you have downloaded the hsbMake setup file, select the file, right click and select Properties, select the Unblock Option
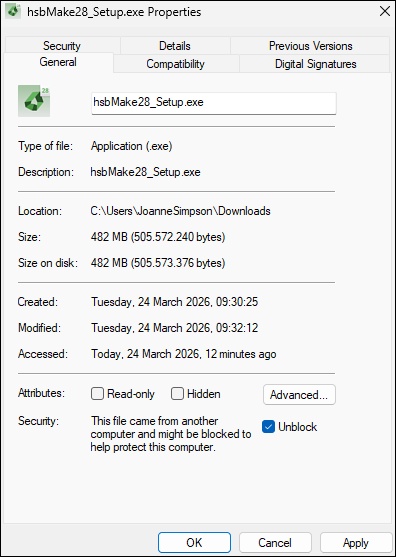
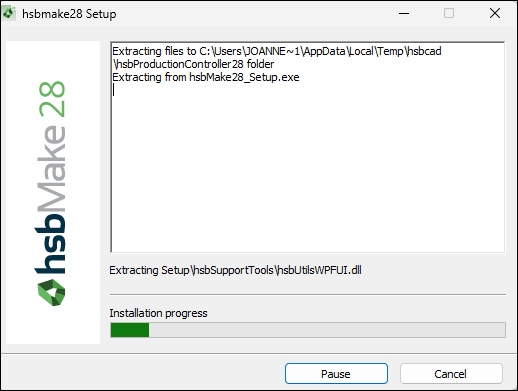
Select the downloaded setup file, open it, and your installation will begin.
You will see the dialog box that confirms the extraction of the installation files.
Step 3: Setup Options & Software License and Service Agreement
After the extraction is complete, this will open the following dialog box: Setup Options & Software License and Services Agreement.
You will need to make a few choices prior to the setup and installation, which are as listed below.
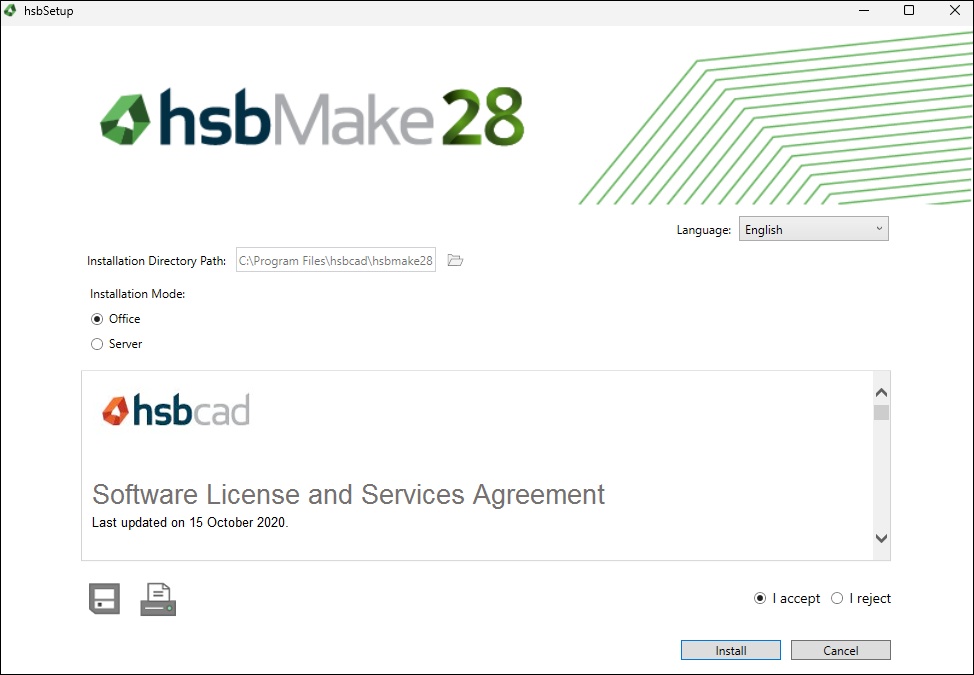
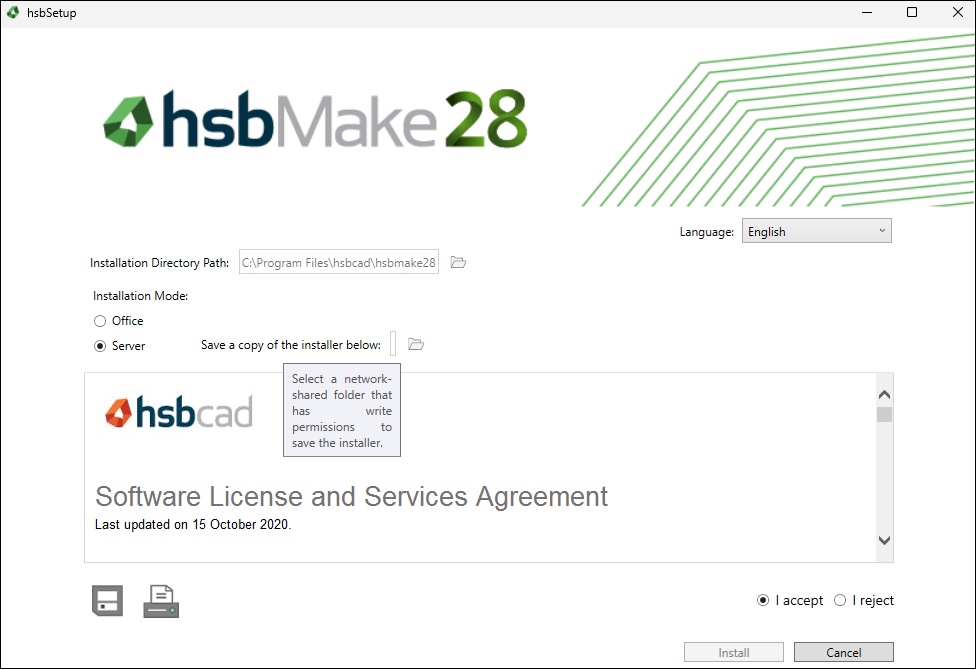
- Installation Directory Path: The hsbMake installation has a default location path, shown in the image above. You have the option to change this file path location.
- Installation Mode: Select office or Server. This will load the necessary content.
- Language: You will need to select your language.
- I accept: Accepting the Software License and Services Agreement: Once you have chosen all the options for your setup you can then accept the terms and conditions laid out in the Software License and Services Agreement.
You do have the option to print or save these terms and conditions if you choose too as shown below.
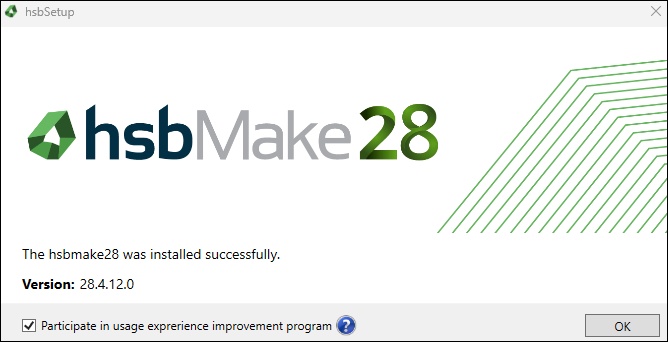
Once the installation is complete this will open the following dialog box to let you know that the installation was successful as shown below.
Step 4: Starting hsbMake Software
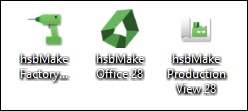
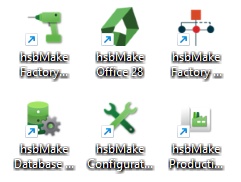
On your desktop, an hsbMake Factory Client an hsbMake Office and a hsbMake Production View Configuration shortcut will be installed. (See Image Below)
Double click this icon to start your hsbMake software.
Step 5: Logging in to hsbMake
When you first launch the hsbMake the following dialog box will appear which will start the login process.
This is where you will enter your credentials.
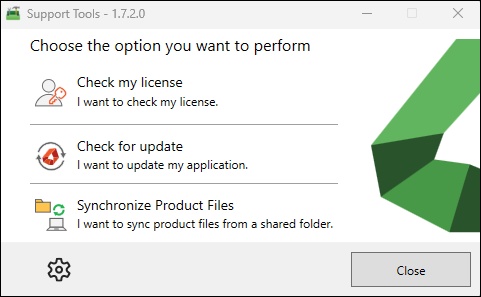
Step 6: How to manage your license and Update the software after you have logged in.
After you have logged in and you would like to manage your license.
On your desktop, an hsbSupportTools for hsbMake shortcut will be installed. (See Image Below)
If it's not installed it can be found in your C:\Program Files\hsbcad\hsbMake<>\ hsbSupportTools

This will then open the following dialog box.
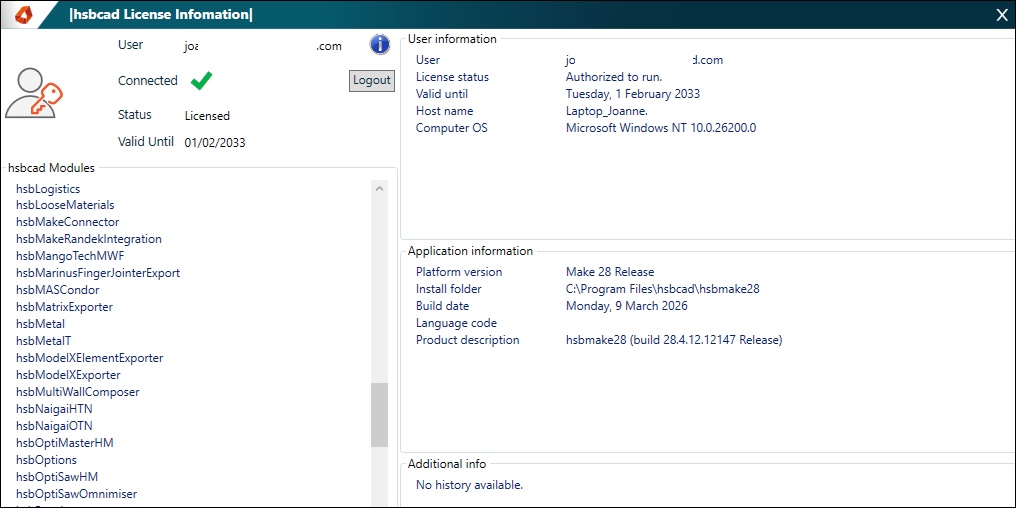
After you selected the Check my license option, the following dialog box will appear giving you your license information, which will include your license connection status, list of modules, user information, and hardware information.
More interesting documents
hsbSupportTools
External hsbUpdater/License/hsbSupportTools
How to install the hsbDesign Components standalone